Monday, 27 October 2014

Sneak Peak- Vintage Star Wars Wedding- Unofficial photos.


2 weekends ago I attended a wedding of good friends. Their theme was Vintage Star Wars. Yup you read right. They really managed to integrate the geeky aspects with so much class. It was a fabulous wedding, but the reason why I am doing a blog-post on it is because I was asked to make the fascinator, veil and wedding dress applique for the Bride Briget. This was my biggest Bridal order so far, and it was quite nerve-wracking for me as I wanted it to be perfect. Luckily she loved what I created for her and it was such a rush to see them in person on the day (Most wedding suppliers don't).

Here is a peak (using phone pics) of the day!  When the official pics come I will do another post.

The wedding invites, menus and Ceremony programme were designed by Di from  The Hellfire Club.

The Groom Dale before the ceremony happily showing off his amazing Bobba Fett cufflinks by the awesome Starbright Silver, and his Lapel pin by Frockabilly (who also made the bridesmaidsR2D2 hair bows and groomsmen Stormtrooper lapel pins- unfortunately didn't get a pic of either). Frockabilly's Lisa also did all the bridesmaid's hair as well as the Bride's. 


The Beautiful Couple after the ceremony!

Briget's Dress was made by the Talented Amy Wright. All those ruffles were hand made. And now you can see the fascinator and applique (Don't have a pic of the veil).

The cake which was three layers of Awesome, was made by the Baker of yum Smith's Bakeshop.


They also made the wedding favors- Biscuits in the shape of Millennium Falcons and Death Stars. 


The table numbers were the different planets from Star Wars. I was most offended that I was put at the planet that got blown up by the Death Star- Alderaan;) hehe.


The decor was so pretty! The wedding reception was at   Market


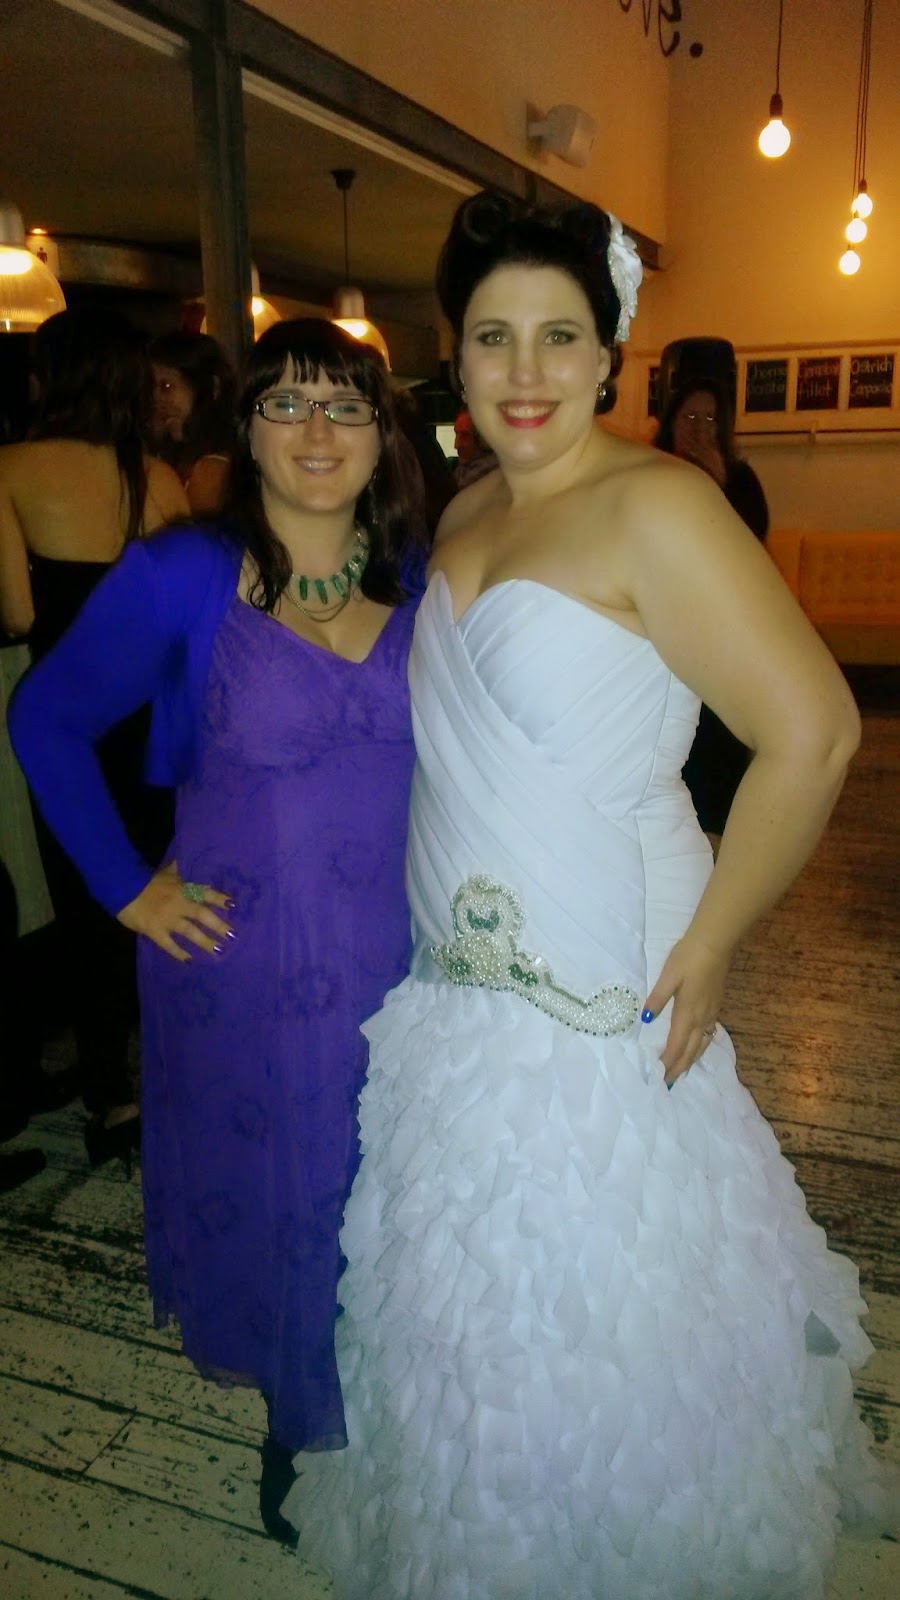
Me and the gorgeous Bride! 


Some close up pics of the fascinator and applique:


I can't wait to get the proper official pics, but at least you got an idea of how it all looked! 
Fabulous Wedding, Fabulous Couple. Wishing them many years of happiness and love!

Please do check out the vendor links above for some great suppliers.

May the Force be with you!


Friday, 10 October 2014

Mini Fez Fascinator D.I.Y!


Hi All. Here is another Doctor Who inspired D.I.Y. This time a mini fez fascinator clip. This and the Bowtie Necklace post will be in action at our Geeky themed studio show entitled "Tribal...The Gathering" in November.

YOU WILL NEED:
 Card
fabric of choice (felt can also be used)
fabric/craft glue
scissors
needle
thread
fringing
clips


If you are worried about fraying (as mine tends to do- I just used the same fabric as the bowtie necklace.) felt would be a good alternative fabric.


You could also use blanket stitch to attach if you were so inclined.


Now for the base of the fascinator.


 TADA!


So go on and listen to The Doctor...

Ok Doctor... but only if I get to ride in the Tardis!

Happy D.I.Ying everyone! 

Please send me links to your versions if you have been inspired to make yourself a bowtie necklace or Fez fascinator. Would love to see what you do with these tutorials! 

much love and sparkles


Friday, 26 September 2014

Cute Doctor Who bowtie necklace D.I.Y.


Hi All.
Today on the blog I have a cute and easy D.I.Y that I have made  for my Doctor Who duet for our Geeky themed Showcase in November. 100 geek points if you can guess which Doctor I am based on!

YOU WILL NEED:
Red fabric (pretty sturdy fabric will work well or felt).
needle
thread
jump rings
chain
hook/clasp
pliers
sewing machine is optional.


If you want to machine sew the edges rather than fold over that's cool too. It is just so it doesn't unravel. Just adjust the size of the rectangle accordingly!

Glue could also be used (in very small amounts) to hold the fabric down when folded.

Basically the long rectangle becomes a short one. the meeting ends will be in the middle.


Play around with the look of bowtie you want before you finish it off by sewing.


Cute hey!
Keep an eye out for the next D.I.Y post - a mini fez fascinator to go with the Doctor Who bowtie!

If you have any requests for D.I.Y posts let me know.

much love and sparkles


Tuesday, 9 September 2014

New Magpie Calls Branding!

Hey All. Well you might have noticed as you got onto the page that a few things have changed.
Well these changes are all a part of the new Magpie Calls Branding I had commissioned by the Fabulous Fathima Kathrada of Happiness Is

Although Magpie Calls started out as a hobby in 2012, directly from making costumes and accessories for dancing. It has grown more than I could have thought over the last couple of years, and it is time to take it to the next level. Branding was an obvious part of that growth!

Some Background on the name: As a Bellydancer I am a self-confessed Magpie and often joke that I have A.D.O.S (Attention Deficit Oooh Shiny) Disorder. When I started getting orders for my Fabric flower clips and accessories I felt I needed a name to go with this new business. I knew I wanted something to do with Magpies and I came across a poem that spoke of Magpie Calls, and I immediately thought THAT is what I want my accessories and creations to do- to call out to my fellow Magpies and draw them in. I want each pretty to find it's rightful owner- to have it call to their hearts and as each pretty is unique, it should belong to a particular owner! Hence the birth of Magpie Calls.

Now obviously this back story was fairly important to me and to how I wanted my Brand to move ahead. I chatted to Fathima about how I wanted something that was classic , yet also represented the fact that I like each pretty to be unique- that I mix old and new elements and try to always put my own spin onto my creations. I was also specifically wanting something that would be a great fit for getting into shops and into the Wedding Market. 

Here are some of the designs we went through during the back and forth process:


They are all pretty great, but just not quite what I wanted. After a couple of tweaks Fathima came up with this Gem...


 She even included versions with Bellydance and Bridal in the logo for the different branches of my business. So Cool.

Here is the logotypes I will be using for packaging and price tags:


And here are my awesome business cards- Yes I have three versions (I couldn't choose hehe)


Aren't they gorgeous? You would buy from me if I gave you one of these cards right? ;)

She also included other elements which will help me to add cohesion across the board in advertising, displays, social media and on the blog.

I am SO excited to see this all become a reality and over the next couple of months I will be switching all aspects of Magpie Calls over to the new Branding. First on the agenda... new business cards!

I really feel that this new look will elevate my business to a more professional level and enable my products to really stand out and be memorable. I can see 2015 being a really really good year for Magpie Calls!

Thank you to Fathima Kathrada Illustration and Design for such a wonderful job:D

Here are her contact details:
www.happinessisat.blogspot.com
fathima.kathrada@gmail.com
https://www.facebook.com/happinesscreates

much love


Wednesday, 27 August 2014

Steampunk Hat D.I.Y!


Hi All. Today's post is of the geeky D.I.Y variety. This weekend coming up we have a Victorian Faire that is happening locally and I am very keen to get all dressed up and go and experience some old-worldly fun! I have an outfit, but felt I needed an accessory to go with and decided to make myself a steam-punkish hat to top off my outfit! I am sharing how I did it in case there is anyone else who wanted to try.

YOU WILL NEED:
1x costume hat
steampunk/victorian related embellishments
craft glue (E600 is brilliant)
netting
feathers
elastic band

 I got this hat at one of the local Chinese stores for a dress-up years back. It has 2 clips underneath to attach to the head.

 I wanted a slightly different look to the brim of the hat, so after reading about this method I decided to try it. It's not a huge difference, but I think it looks better than the purely flat brim.

 Sorry Typo is E600 not 6000... but it's the best BEST glue for D.I.Y and crafting- it's industrial strength and a little goes a long way! Good steampunk type of embellishments are clocks, keys, cages, gears, locks,cameos anything that has that old-timey/time-travel/Victorian aesthetic.

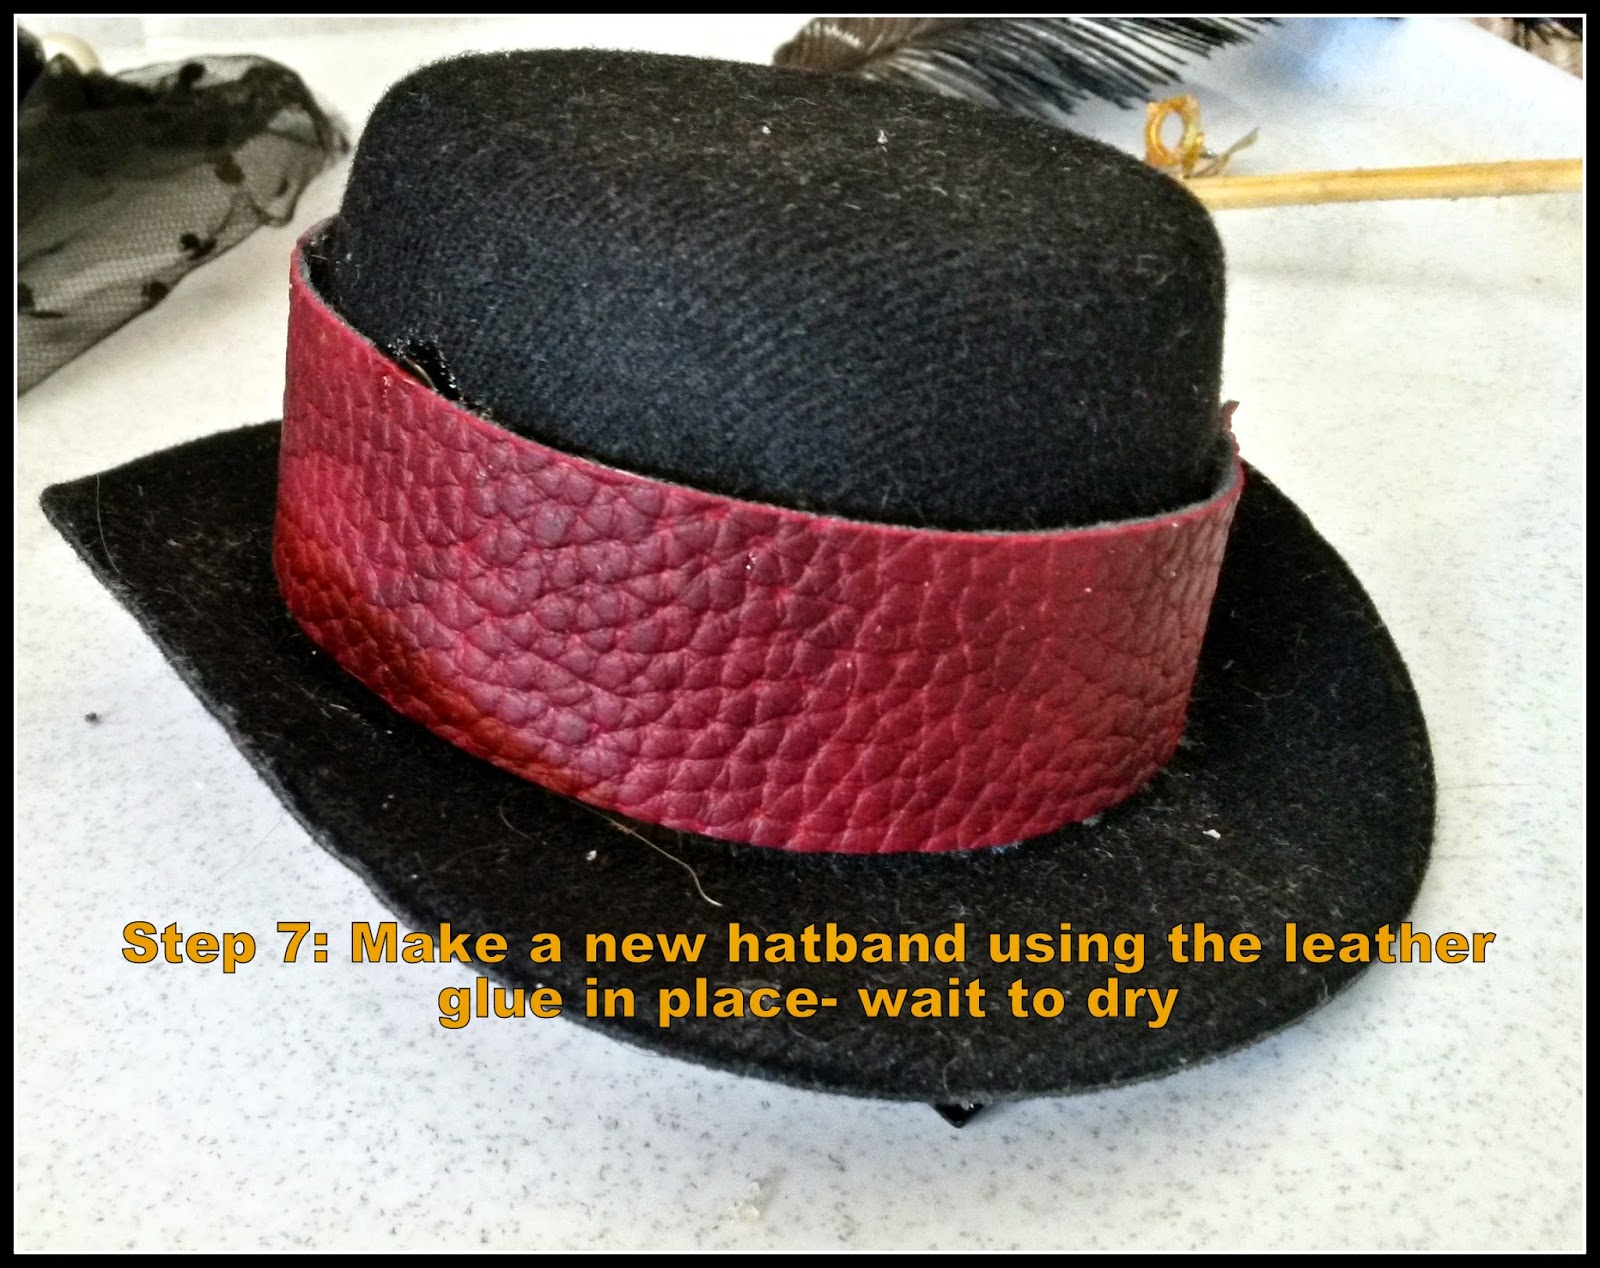
 I used a maroon leather to match the maroon velvet coat I will be wearing.

 Play around with placement before glueing. And make sure it's fully dried before next steps to prevent stuff falling off or moving!


You can see the new "brim look" nicely here .

 This step can go directly to step 9 as the glue doesn't have to be dry on this step before gluing it to the hat!
 Very important to let this dry fully, as it could move or fall off if used before it's properly dry!

There we go- a new steam-punk inspired hat. Obviously if you have more time and you want to paint-technique the hat base and add extra to the hatband etc you can go all out!

If this tutorial helped you to create a hat please send me a picture or a link to your creation so I can see and admire:D

I will add a pic of me with the hat in full dress-up mode after this weekend!

Happy Steam-punking All!